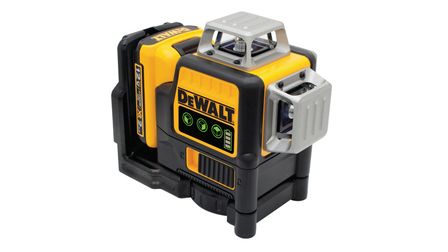
Laying floor tiles is one of the deceptively easy tasks. Yes, it looks difficult and a bit overwhelming for a DIYer to accomplish.
But if you follow right steps and use the right tools, especially with a laser square (or a tile laser level), you can do it with ease.
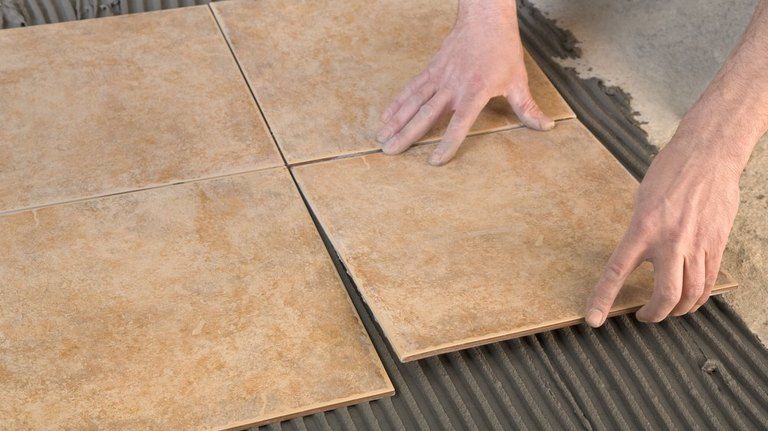
Now, before we move on to tile installation process, let’s take a look at the necessary tools and materials needed to accomplish the task.
Materials:
- Tile
- Thin-set mortar
- Cement backer board
- Cement board screws
- Grout
- Sealer
Tools:
- Tile laser level (my choice is Bosch GTL3 Tile Laser)
- Rubber float
- Rubber mallet
- Tile spacers
- Power drill
- Mixing paddle
- Scoring cutter or wet saw
- Handsaw or jamb saw
Steps On Installing Floor Tiles
Step 1: Measuring Your Floor
Measuring the dimensions of the floor you plan to cover to get an exact idea of how many tiles you will need.
- For square and rectangular floors, you need to multiply the length by the width to get the total square area.
- For odd shaped areas, separate the floors in sections and then add the square footage of sections.
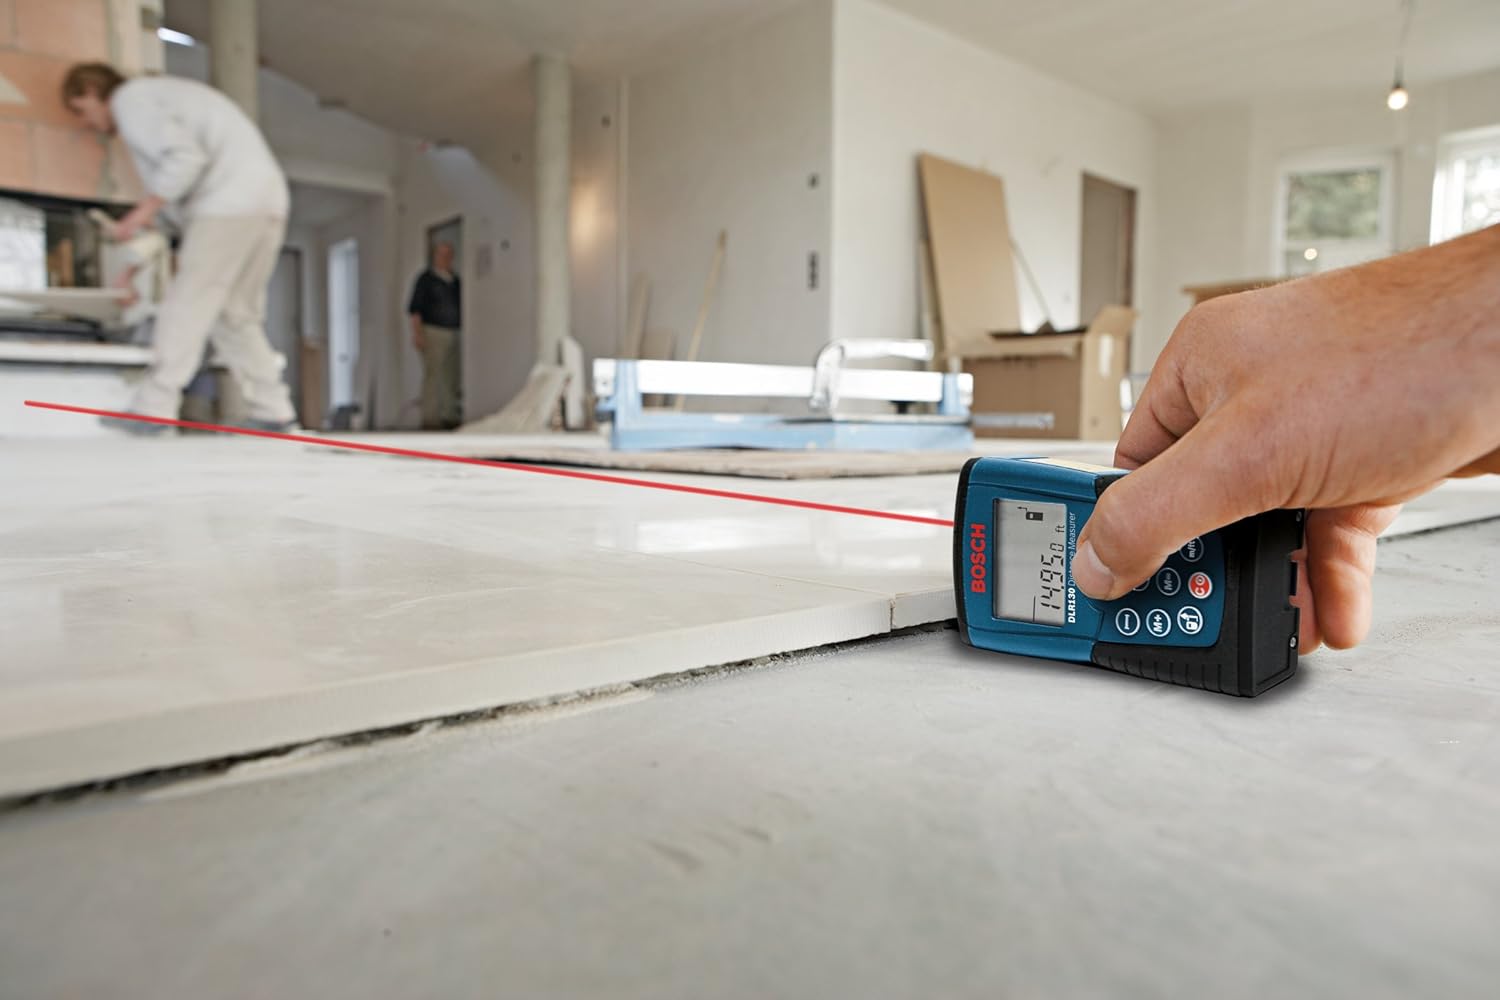
For quickly calculating the total area of the floor, I suggest using a laser tape measure.
Step 2: Prepare Your Floor
Next, you need to make the surface suitable for the tile installation. Remove any residual mortar or adhesives. You also need to take care of any cracks with concrete patching compound.
Without the preparation step, your new floor tiles won’t be secure enough and the floor won’t be as smooth as it should be.
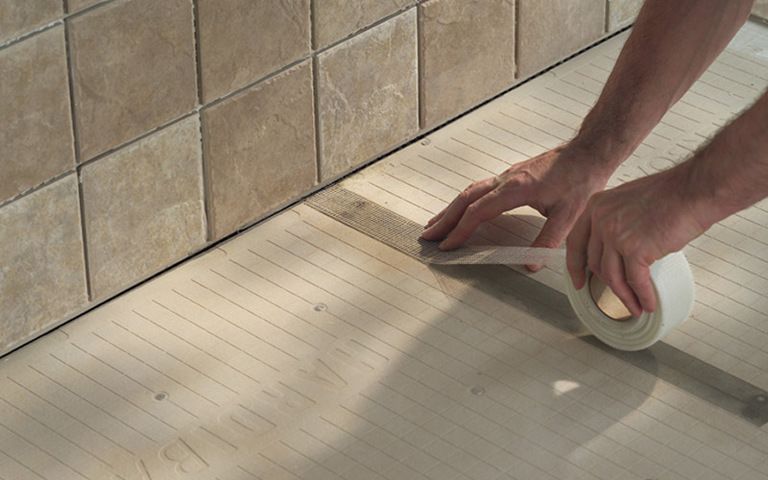
Step 3 (Optional): Install Cement Backer Board
Now, this step is only for those who have wood framing. Others can skip it. You have to make sure that the subfloor is dry, strong, and firmly attached to the joists.
Also, you shouldn’t apply tiles directly to the plywood or wood subfloor. Instead, cover the subfloor with cement backer board and secure the surface of the floor with corrosion-resistant screws.
Step 4: Undercut Door Jambs
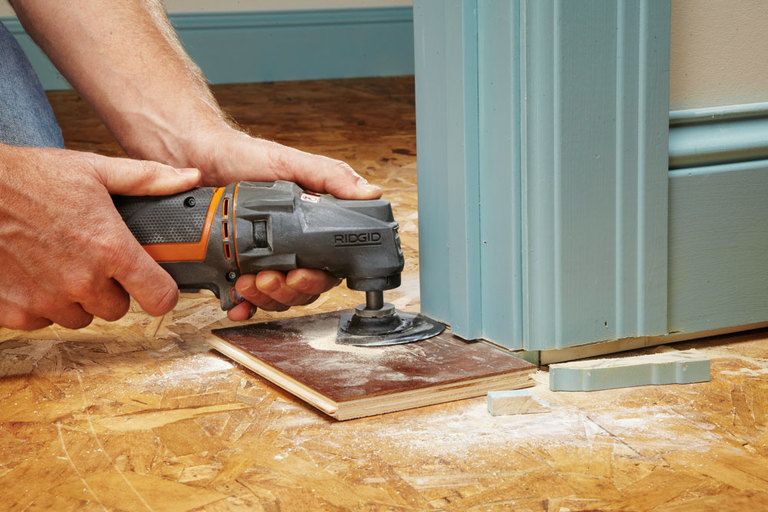
Using a handsaw or jamb saw, take care of the bottom of the door jambs to make sure that the tiles would fit securely underneath the door.
You can also use an oscillating tool for quick and accurate cutting into door jambs.
Step 5: Mix Up Thinset Mortar
Mix up thinset mortar in a five-gallon bucket using a mixing paddle attached to the slow speed drill.
Make sure you are following the instructions about the right ratio of water and mortar.
You also need to keep a bucket of clean water and sponge at hand to take care of any excess mortar applied on the floor.

Step 6: Alignment Tiles With a Tile Laser Level
When installing tiles, you have to take care of one important aspect: the right alignment and placement of tiles.
In one corner, place the tile laser level (also called laser square or square laser level) and switch it on. The level will throw laser lines that you would use to verify positioning of tiles between zero to ninety degree.
For best results, go for good quality tile laser level, like Bosch GTL3 Tile Laser or Bosch GTL2 Laser Square. It will cost you good bucks but there be no compromise on quality.
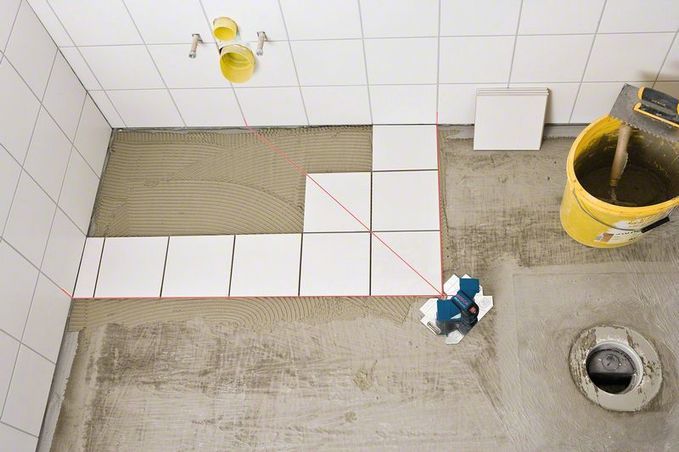
With a notched trowel, spread the mortar evenly over a small area. Next, using the line of level as guideline and reference, place the ceramic tiles over the mortar and press it in place.
Place another tile next to the first one. Use plastic spacers to keep the joints of the tiles uniform. Repeat the process and before laying tile always keep alignment in mind.
Step 7: Install Tiles Along The Wall
Once the tiles have been laid, your next task is to cut and fit the border tiles along the wall.
For this task, measure the distance from the wall and mark each tile. Don’t forget to subtract the width of the grout line.
You can cut the tiles with a scoring cutter or wet saw. For curved cuts, you should use a tile nipper.
When you are laying tiles next to the wall, leave a small gap that is covered with baseboard or quarter round molding. You can also opt to fill that gap with vertically placed 4-inch tiles along the wall.
Step 8: Fill The Joints With Grout
After the floor tiles are set and the mortar has dried, you have to fill the joints with grout.
Use unsanded grout for joints less than 1/8-inch-wide. For tile joints wider then 1/8 inch, use sanded grout.
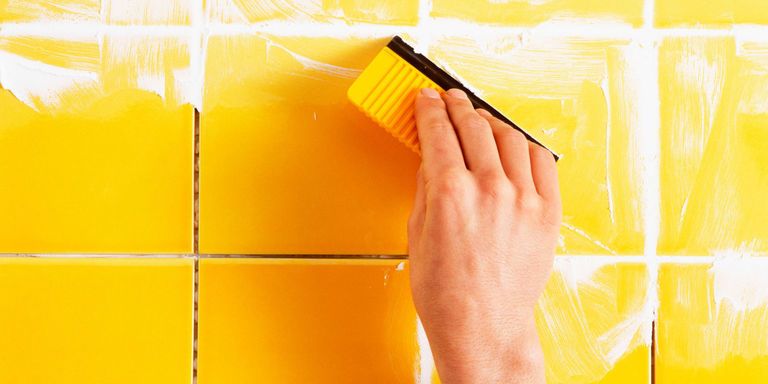
Before you fill the joints with grout, you should remove dust and debris from them. Use a rubber float and drag grout at 45-degree angle across the tile surface.
Step 9: Clean Grout And Apply Grout Sealer
Wait for few minutes and allow grout to settle in the joints. Next, wipe off any excess using a sponge and bucket of clean water.
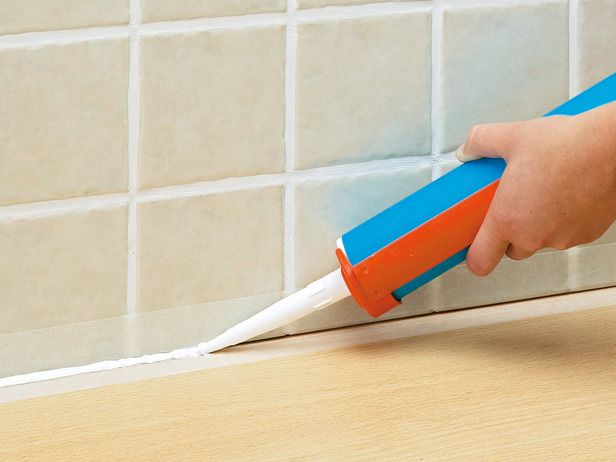
Once the grout has hardened, apply sealer over the joints using a foam brush or applicator bottle.
Tips On Laying Tiles With A Laser Level
Some tips on laying tiles are:
- Before you start tile installation, you should do a test to figure out the best layout. You can do this by laying tiles in the middle of the room. If you have some bold patterns in mind, this is the time to try it.
- For safety purposes, you should go for floor tiles with rough or textured finish as the glossier ones are liable to get slippery when wet.
- Always buy more tiles than you need to cover up any breakage or mistakes. The general rule is to buy ten percent more tiles than needed.
- Always mark the border tiles after measurement to make sure you cut it right.
Tips on how to use a laser level for tile laying process:
- For best accuracy, you have to ensure the laser square is placed on a flat surface.
- If you are working in a large room, you should move the laser square ahead as you proceed with work.
As you might have noticed my friend, laying floor tiles is simple and straightforward work. However, you have to be patient and focused while doing it. Even a single mislaid tile can mess up whole work.

