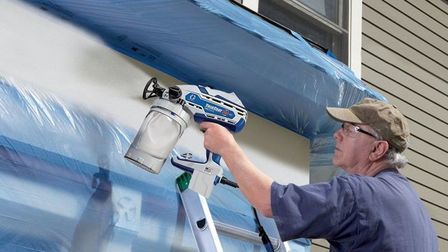
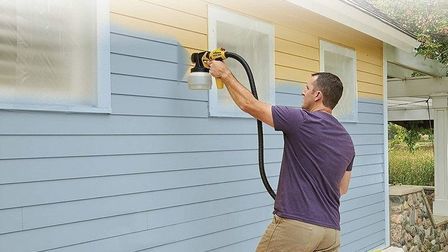
Are you thinking of changing the color scheme of your home?
Do you want to give your home a new but refined and attractive look without breaking your bank?
Then you should start thinking of painting your home.
Painting is one of the cheapest and easiest DIY home improvement projects that instantly add more appeal and value to a home.
When it comes to painting a home, some necessary preparations have to be carried out in order to achieve the best result; one of which entails preparing walls for painting.
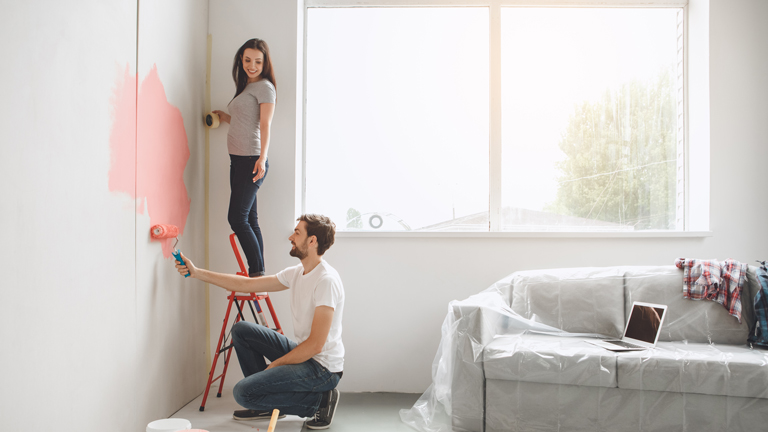
But how can you prepare your walls for painting? What are the tools you need? And does this action even come with a benefit?
These questions bordering your mind are exactly what this article is prepared to provide answers to. Now, let's dive in!
Why Should You Prep Walls Before Painting?
When you intend to paint your home, you need to prepare your walls for painting. It is something you can’t afford to ignore if you want the best result.
Here are some of the importance of preparing walls before painting.
It helps to achieve a clean surface
Painting on a clean surface is smoother and more appealing to the eye compared to paintings done on coarse or unprepared walls.
You will easily detect areas that need to be repaired
When you prepare your wall before painting, it will open your eyes to some areas of the wall that needs attention. This attention may include scraping some parts of the wall, driving out nails or leveling some unbalanced part of the wall.
If you don’t prepare your walls before painting, you might overlook this stumbling block and end up having a poor result.
It aids proper adhering of the paint to the walls
Another benefit you’ll derive from preparing your walls before you apply the coats of paint is that your paint will stick to the wall effortlessly.
This will help to reduce the need to apply additional coats of paint, thereby making you work faster and more efficiently.
It will make your work or painting look professional
Without adequate and effective wall preparation, the end product will look like the paintwork was handled by an amateur. You wouldn’t want to be called an amateur, would you?
To give your work a professional look it deserves, it's important that you take the wall preparation aspect more seriously, so as to achieve a perfect finish.
Tools And Materials
Tools
- Dusters
- Dust sheets
- Sponge
- Scraper or filling knife
- Oscillating tool
- Bucket
- Vacuum cleaner
Materials
- Filler
- Basecoat (for walls with stained or damaged surface).
- 80 grit sandpaper
- Sugar soap
- Masking tape
- Retractable utility knife
Safety kit
- Dust mask
- Rubber gloves
- Eye goggles and ear plugs
How To Prep Walls For Painting
Step 1: Clear The Room
Before you begin the wall preparation, you need to clear the room and remove as much hardware as possible.
This will help you work faster, move around with ease and avoid damages caused by paint splatters.
- Take the furniture and other fixtures out of the room. For areas with limited space, move the furniture to the center of the room and cover with dust sheets. Cover other items or fixtures that cannot be removed or carried with dust sheets to protect them from dust.
- Remove the blinds and curtains in the room and keep them out of the way. Take down any fittings such as tiebacks, tracks, wooden painting, and curtain poles.
- Where possible, unscrew the hardware (like hooks and shelf brackets) that are fixed to your wall.
The Takeaway:
To avoid losing any screw after taking down the hardware on your wall, attach the screws to the item you removed using masking tape.
With this, you will easily find the screws to reattach the items to the wall after you are done painting your home.
Step 2: Clean The Walls
Before the painting operation, you need to wash the painted or wallpapered wall surfaces.
This step will help to get rid of grease, marks, finger marks, scuffs, and smoke stains that would affect the look of your final painting project.
With less dirt, grease, and scuffs on your wall surface, you will have a better-looking painting and may not even require additional coats of paints.
- Start by dusting your ceiling, down to your coving, walls, window frames, door, skirting boards and all the fixtures present in the room. With a long-handled dusting wand, you can tackle this task and reach the fixtures without the need for a home scaffolding unit or ladder.
- Pour a little quantity of sugar soap into a bucket and dilute with water based on the instruction on the product packaging.
- Apply the diluted sugar soap solution to the wall and work it into its surface using a large sponge.
- Leave it for a few seconds to allow the solution to work into the wall surface. Make sure you wear your rubber gloves when handling or working with sugar soap solution to prevent skin irritation.
- Get another bucket of clean water and wipe your wall surface clean with a cloth or sponge. Try to avoid water dripping onto the floor or down the wall as you work.
Note:
You can find distemper wall finishes in older houses. This wall finish is powdery or dusty to the touch.
- Do not paint or apply wallpaper over distemper; its dusty nature will not allow them to stick to the wall.
- Wash the wall and scrape off the paint using a scraper and allow it to dry.
- Then, apply stabilizing solution like INSL-X Bonding Primer or Zinsser Peel Stop to seal the surface.
Step 3: Fill The Cracks And Holes
If your wall has a few holes or cracks, there are various kinds of fillers you can use to produce a smooth surface ready for painting.
It is important to tackle these spots to give the filler time to dry out before you are ready to paint.
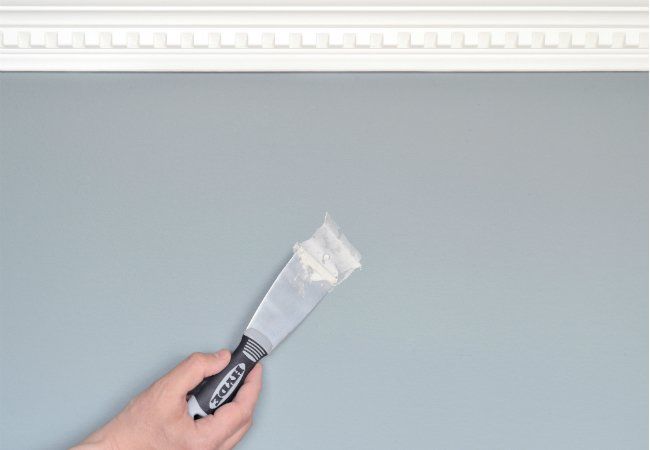
If the wall has a lot of small holes and cracks, you can apply basecoat which acts as a hairline crack filler, stain sealer, and a primer. Follow the guide below to fill the cracks:
- Using the corner of a scraper or filling knife, scrape any loose plaster away from the crack.
- Moisten the crack using a small paintbrush in water; this will encourage the wall filler to dry slowly and prevent it from falling out of the crack.
- Stack some filler onto your filling knife and apply it over the hole or cracked surfaces by drawing the filler across it.
- Press the filler firmly into the cracked surface with your filling knife until the filler is raised above the wall surface.
- Allow it to dry thoroughly and sand the area smooth with an 80 grit sandpaper on your oscillating tool sanding pad.
Step 4: Scrape And Sand The Wall With An Oscillating Tool
Scraping and sanding the wall is an essential wall preparation task that does not only help to remove old paint but also create an even and smooth foundation for a perfect wall decoration.
However, this task seems a little tricky and takes a lot of time to complete. But with an oscillating tool at your disposal, you can handle the task easily and efficiently without damaging your walls.
- Attach the right attachment (a scraper blade) to the tool.
- Power on the device to scrape off the loose blistered paint. Do this gently to avoid gouging your siding.
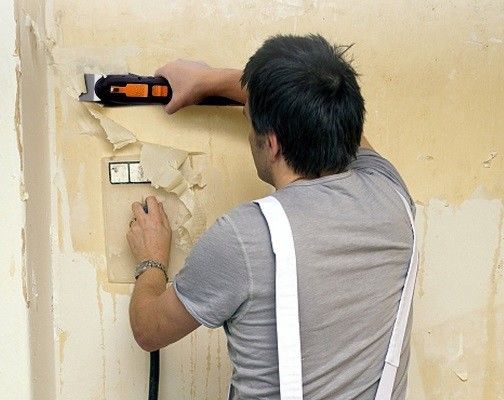
- Once done, attach an 80 grit sandpaper onto your sanding pad to sand the area smooth.
- Feel the surface with your hand to know how smooth or rough the plaster is and if it matches the area around it.
- Dust the wall and its surroundings. Clean all the surfaces in the room, including your floor and ceilings with a vacuum cleaner.
Note:
- Do not use the tool in wet conditions to avoid the risk of electric shock.
- Put on your goggles, ear plugs, and nose guards when scrapping or sanding with an oscillating tool.
See also:12 DIY Projects You Can Do With An Oscillating Tool
Step 5: Make The Final Preparation
Now that you have removed the existing paint and prepared the wall surface, it’s time to tackle the final preparation tasks and get ready for painting.
- Spread the dust sheet as much as you can on the floor. If you are using polythene dust sheets, it should be held in place with masking tape. However, you can move a heavyweight cotton dust sheet around as you work.
- Cover the sockets and switches with masking tape to keep them from paint splatters. Mark all the areas you are not painting and cover with masking tape to protect them.
- Apply the masking tape carefully, press it down to attain a good seal and avoid twisting it as you get it out of its roll. Make sure the edge of the tape is properly aligned against the surface you intend to paint.
- If you want to use additional coats of paints, you need to remove the masking tape and then reapply it between coats.
- Make sure you remove the masking tape before the paint dry and solidify to avoid pulling off the paint layers as it builds.
Step 6: Prime Stained And Freshly Plastered Surfaces
If your wall is stained with the mold, water, smoke or nicotine, you should apply a basecoat or sealer first.
This will make the paint stick properly to your wall surface, thereby reducing the number of coats required.
See also: Best Paint Sprayers For Home Use
Conclusion
Preparing your walls for painting is quite easy, and fun. All you need to do is to adhere to the steps and guidelines provided in the article, and you will have alluring, nicely and neatly prepared walls to paint.

