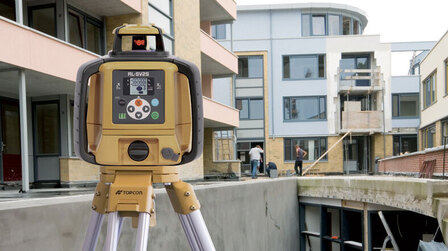
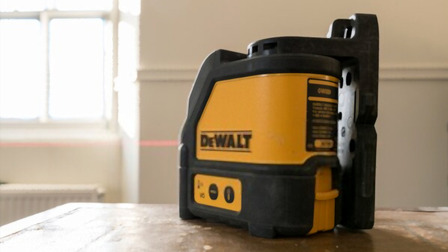
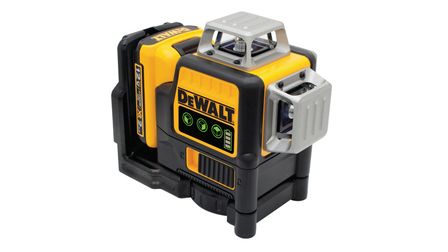
No doubt that laser levels are one of the best inventions for construction work making things a lot easier and quicker.
For DIYers as well as professionals, laser levels have a lot of uses, and one of those that we are going to discuss is using laser levels to paint stripes.
The fact that stripes hardly go out of fashion makes them ones of the best ways to decorate your wall.
Let’s look at the steps to make a beautiful striped wall with the help of the laser level.

Things you will need
- Paint of your choice
- Paint brushes and rollers
- Paper towel or a drop cloth
- Painter’s tape
- Laser level
- Pencil
- Tape Measure
- Ladder
Steps on Painting Stripes
Step 1. Planning
Plan your project and keep all the things you need at hand.
Determine the colors that you will use and decide between vertical and horizontal stripes.
While vertical stripes give your room an elongated feeling, makes the ceiling look higher, horizontal stripes are more in trend these days especially when broad stripes are painted in bold colors.
Step 2. Prepping up
Prepare the space that you will be painting by removing switch covers, holes or nails on the wall and taping off the moldings.Use drop cloths to protect your flooring. Remove your furnishings away from the wall and keep a wet paper towel to instantly wipe off paint if it falls somewhere.
Step 3. Painting the base
If you are using two colors to paint your stripes, make it easy for you by choosing one of the colors to paint the base.
When you move to the next step of marking and measuring, you will be doing it for only one color.
Let your base dry at least 24 hours before you move to the next step.
Step 4. Measuring and Marking the Wall
Mark each stripe’s measurement with the help of a pencil. Remember to distinguish which stripe to get painted and which one to stay the base color by marking on it using a few pieces of tape.
Measure your wall and think of the number of stripes you want on it by figuring out how big each stripe will be. Choosing an odd number is good because it will give your room a better look.
For horizontal stripes, measure the height of the wall. For vertical stripes, measure the width of the wall.
If you get a measurement that is too difficult to mark accurately on the wall, then just add the extra inches to the last stripe to get a round figure for each stripe.
Mount your laser level on a tripod and shot the laser line directly on the wall. Or, secure the level on the wall with the help of painter’s tape. It depends on what kind of laser level you are using.

After setting up the level, let the laser guide you on where the tape has to go.
Make sure you stick the tape correctly.
For every horizontal stripe, the tape for the top of a stripe goes above the laser, and for the bottom of a stripe, the tape goes below the line.
On vertical stripes, it is before and after for the first and second line respectively.
Step 5. Paint and Repeat
With the help of paint brushes and rollers, paint the stripe and continue till you have covered the entire wall.
You will need a ladder or a painter scaffolding to cover the upper section of your walls.
Remember to remove the tape as soon as you have painted that particular section of the wall or else it tends to stick to the wall once the paint begins to dry.
Now let’s look at a video on how to paint stripes on a wall and get ready for your painting project!
Conclusion
Painting stripes on the walls is tricky but not impossible. With the help of laser levels, you will never wonder how to tape straight lines for painting stripes.
Add some flair to your room with stripes and do not forget to use a good painter’s tape with a laser level.

