The science of electronics and electricals is one about connection. One could even say that it’s only about connection. Without that, the devices around us wouldn’t work.
As a home DIYer, you may come across challenges where you want to troubleshoot a circuit or check if an electrical wire is functioning properly. And the first thing you do in such cases is check continuity.
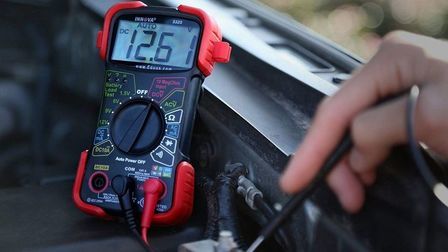
Electrical wires, even the heavy-duty ones that you buy from Home Depot, have a lifespan of less than a decade.
Therefore, it is important for a hobbyist or a residential owner like you to be able to check the conducting capability of these wires from time to time. And by using tools that are already available to you.
This article will provide a detailed process on how to check continuity with a multimeter.
How to Check Continuity with a Multimeter
Before jumping into the steps, it is important to equip yourself with the essentials and the understanding of the process. For this purpose, you will need a good-quality, general-purpose multimeter.
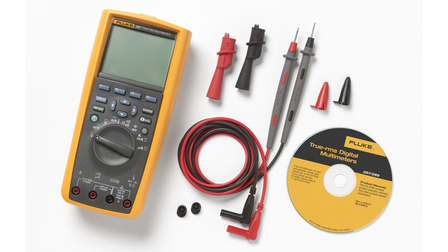
A digital multimeter that buzzes when continuity is established would be a perfect choice. We recommend Fluke multimeters as they are one of the best in the market.

While the process is similar to how we test wires (previously covered), the basic principle while testing continuity is to check if a conducting wire or cable can carry current or any other quantity throughout its length.
For example, consider a USB power cable that we all use almost daily in our lives. When checking continuity, we are looking at this cable’s ability to transfer data from its input (which is the power supply) to the device that we are charging. If the continuity is established, we can confirm that the cable is in working condition.
Given below is a step-by-step process on how to use a multimeter to test continuity. Also check out useful tips at the end.
Steps to Test Continuity with a Multimeter
Following are the steps that you can execute on any wire:
- Step 1
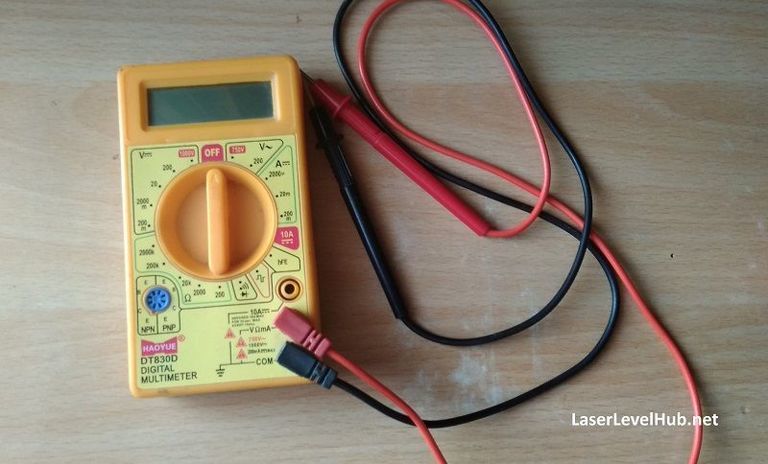
Take out the digital multimeter and keep it ready. It is wise to check the battery and calibrate its readings (read the manual) before using
- Step 2
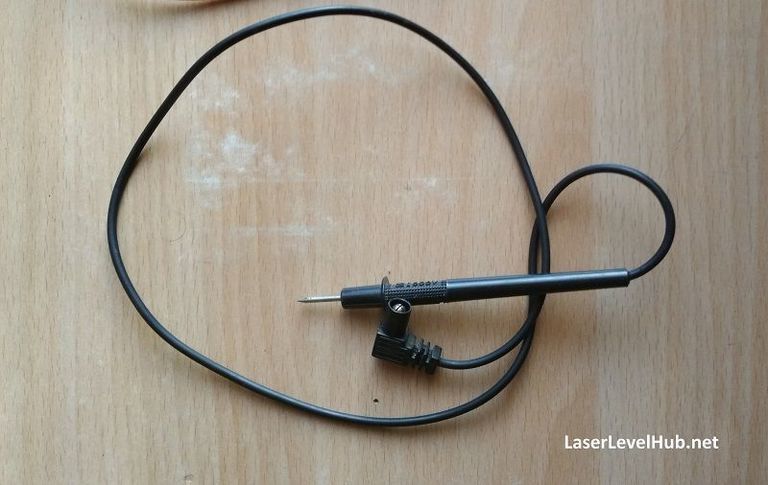
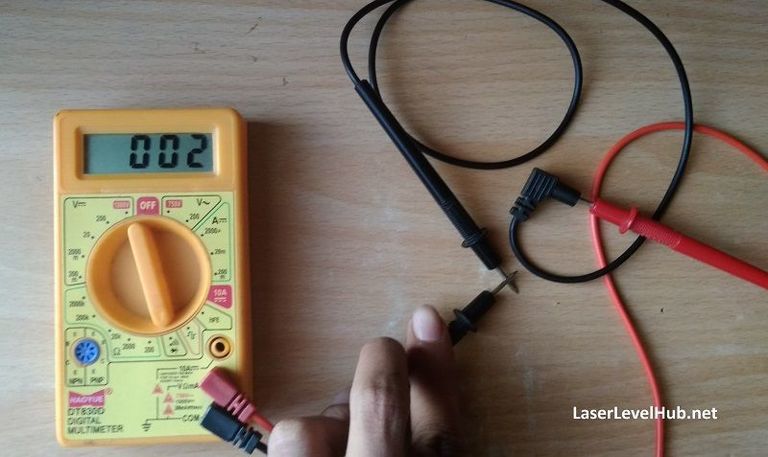
Disconnect the wire that needs to be tested, or the entire system if possible to avoid shock. In this process, we have taken the example of a multimeter probe cable. We will check the continuity of this cable (shown below)
- Step 3
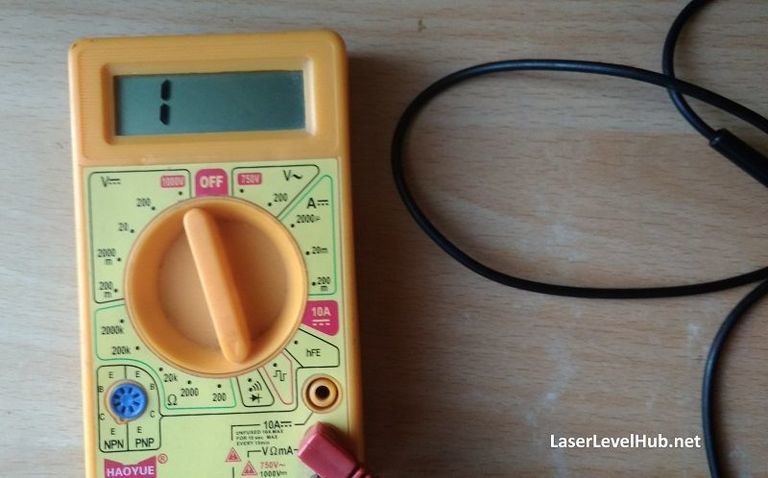
Switch ON your multimeter and turn the dial or select the option and set the function to continuity check.
This is usually labelled using a volume symbol and/or that of a diode, almost always placed next to the resistance function in a dial
- Step 4
Connect the testing probes to common ground and volt as shown in the image above
- Step 5
Put one test probe on one end of the cable and the second probe on the other end. It does not matter which probe (positive/negative) is placed where
- Step 6
If the cable is in proper condition, the multimeter will give out a buzz/tone. If there is no buzz, even after multiple tries, the wire fails the continuity test and must be replaced or repaired immediately.
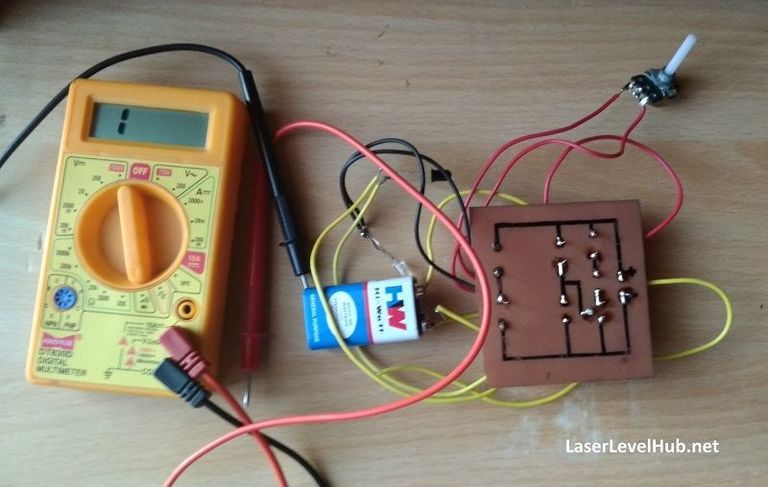
Oftentimes, the wire may just be bent or twisted, hampering the flow of current. This can be checked and rectified by removing the wire out of the system and flattening it out
- Step 7
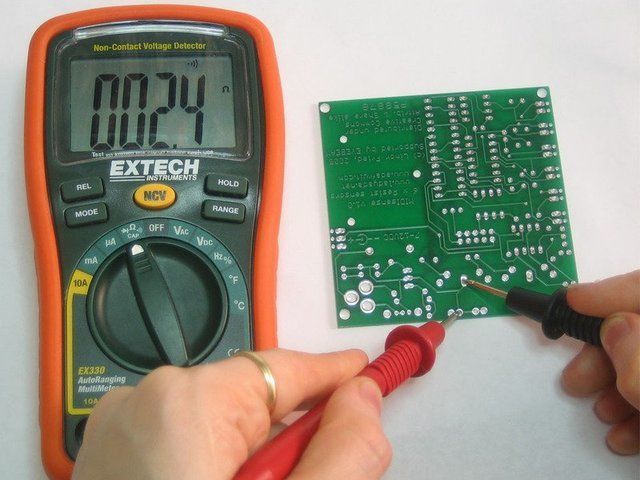
You can also use a digital multimeter to test continuity of a system’s wires and cables, and bus lines of a printed circuit board (PCB). Just make sure that you switch OFF the system before checking or else it will damage the multimeter.
Shown below is an example of using a multimeter to test continuity in a PCB. The below image is a small circuit for demonstration purposes where you can check the continuity of the bus lines.
Checking continuity using a multimeter is very simple and probably the easiest activity. But, while you are doing it, safety should always come first. Using an insulating hand glove is highly recommended.
Useful Tips and Tricks
Measuring continuity is very easy, but don’t let the ease come between you and safety. Use these tips to secure yourself from shocks and your multimeter from damage:
- Always use high-quality insulating hand gloves while using a multimeter
- Always switch OFF the system while checking continuity
- If continuity testing is a regular task for you, make sure you replace the batteries of your multimeter more frequently. The buzzing sound tends to drain the batteries quicker
Conclusion
We hope that this guide on how to test continuity without a multimeter has helped you. If you have any queries, let us know in the comments and we will try to assist you. Happy testing!

