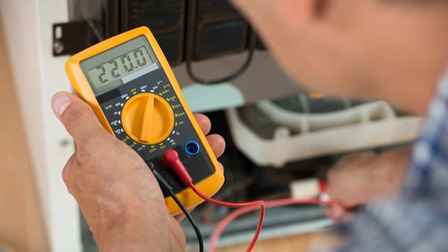
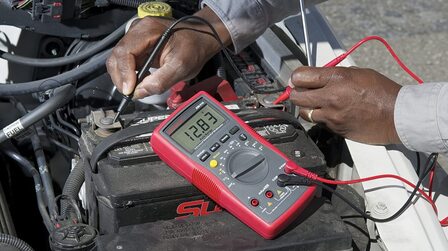
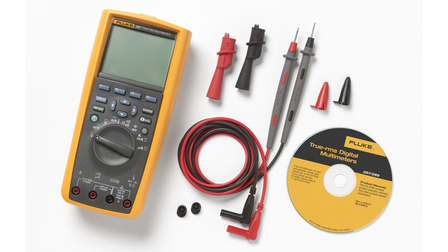
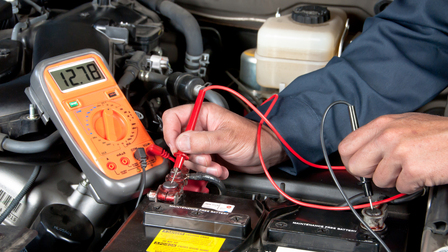
For an electrician, measuring resistance is one of the most common tasks. And knowing the basics is going to be crucial. That is why we have created this handy guide on how to measure resistance with a multimeter.
The process is as straightforward as measuring current or voltage, where you use the test probes to detect resistance in a circuit, of a component, or in any functioning system to troubleshoot it.
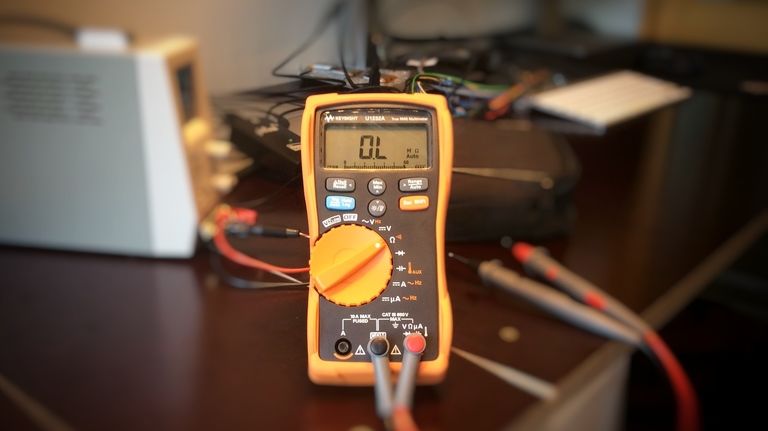
The key is to select the range switch and adjust the decimals for an accurate reading.
Assuming that you already know the basics of how multimeter measures different quantities, we will directly get down to business.
For more multimeter user's guides, read the following articles:
How to Measure Resistance with a Multimeter
The following is a step-by-step process to measure resistance using a digital multimeter. For this guide, we will use resistors (of different values) and a simple circuit to measure resistance
Step 1
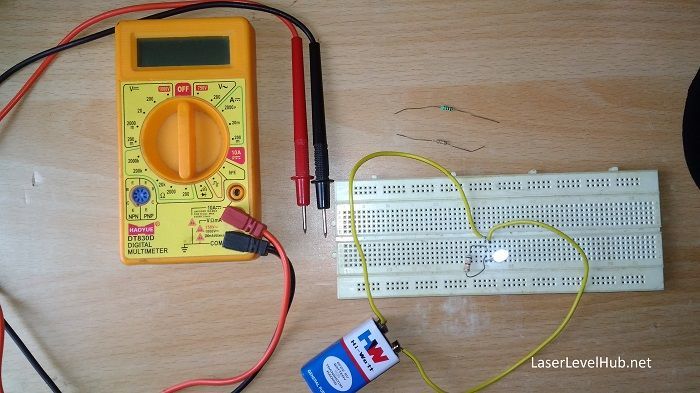
Grab a multimeter, few resistors of different values, and a simple circuit on a breadboard. You can choose to skip the circuit because it is for representational purpose only
Step 2
Use the dial switch to select the resistance function in the multimeter. Depending upon the value of the resistance, you can switch the range while testing. The range selected is 2000 ohms
Step 3
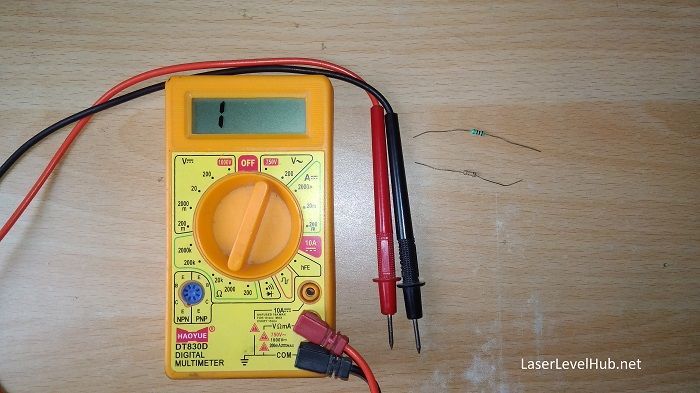
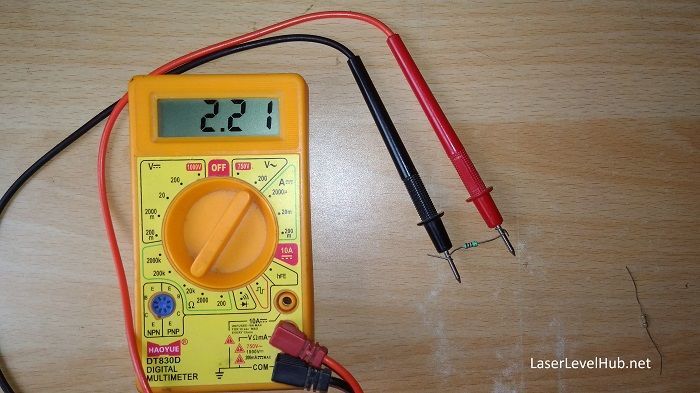
Connect the probes with the resistor’s terminal and read the value displayed on the screen. Following are the values for each resistor (as shown in the picture)
Resistor 1
The value is 2.21k ohms. Note that the range switch is pointing at 20k ohms and the value read is 2.21, which gives us the final resistance value as 2.21k ohms.
Resistor 2
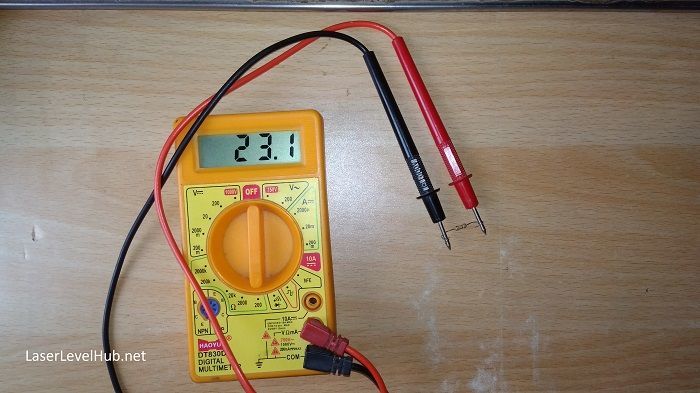
The value is 23 ohms. In this case, the range switch is pointing at 200 ohms and the value read is 23.1, which denotes that the resistance is approximately 23 ohms.
Had the range switch been at 200k ohms and the reading the same, the resistance would be 23k ohms (which is a huge value).
Resistor 3
The value is 671 ohms. The range switch is at 2000 ohms and the value is 671, giving us the measurement as 671 ohms.
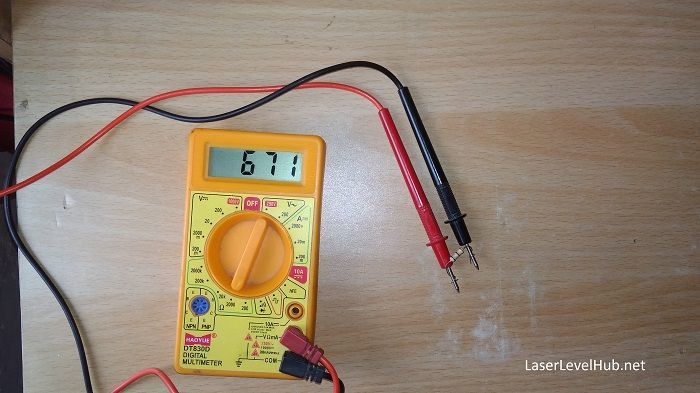
An interesting thing to note here is that the resistance does not increase by the size of the resistor. Resistor 1 was bigger than resistor 3 yet that one has the highest resistance value (2.21k ohms).
Step 4
You can also use a multimeter to test resistance in a circuit. This gives you a first-hand experience in seeing how resistance works in a live circuit.
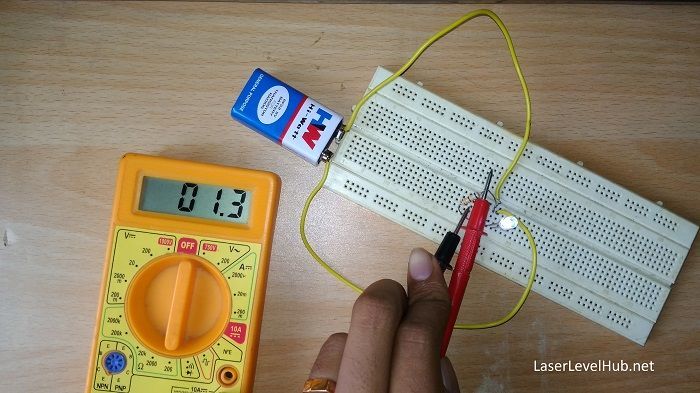
Observe the image shown below of a simple circuit that connects a general-purpose white LED with a power supply. Notice that we have inserted a resistor in the circuit.
Step 5
Use the multimeter probes and point them at either side of the resistor in the circuit. Check the resistance in the display and compare it with the previous reading we got when we measured only the resistor. The drop (from 671 ohms to a negligible value) in the resistance denotes that the resistor is in action in the circuit
We believe that measuring resistance using a multimeter is the easiest process because you don’t have the worry about the polarity nor about the incoming current (unless it’s a circuit).
Read more: Best Digital Multimeter For Electronics
Using Color Code Technique for Measuring Resistance
If you want to make the process interesting, you can also compare your measurements with one that you derive from the color coding system.
Resistors are universally tagged with certain color codes (in the body) to help technicians and electricians calculate their values without using a multimeter.
While this is not the most accurate method due to the possibility of human error, we recommend you compare your readings for a better understanding of the process. You can use this external guide for this purpose.
Troubleshooting a Circuit
When an electrician is trying to troubleshoot a circuit or a system, he/she usually checks the resistance in it. Because the resistance of a circuit changes dramatically when it is connected with a load (as we observed in the example above).
Once the power supply is flowing, the first thing to check in a circuit is to test its resistance. Where to check it is something that will depend on your experience.
Conclusion
We hope that this short guide on how to check resistance with a multimeter has been helpful for your DIY and hobby projects. If you have any queries or suggestions, don’t forget to add them in the comments.

