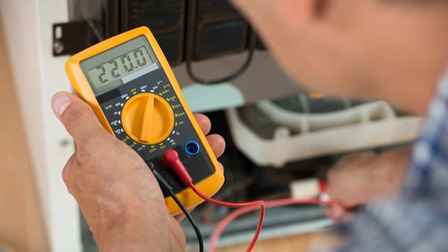
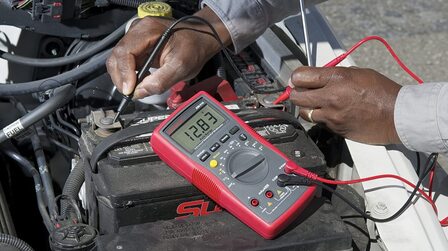
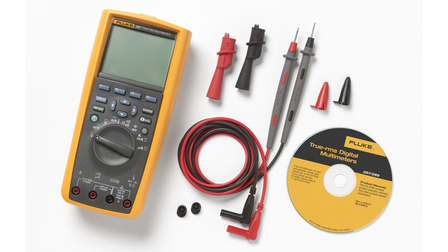
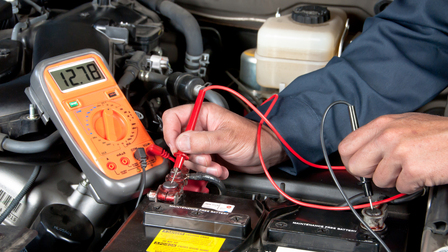
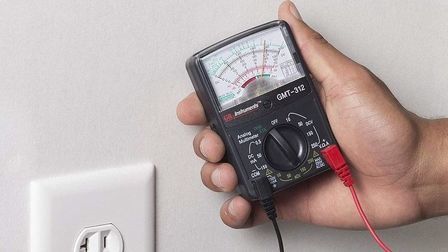
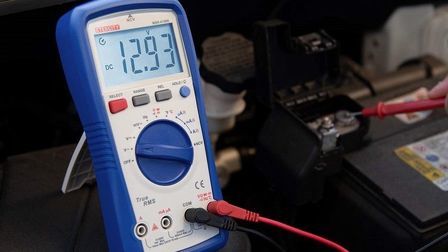
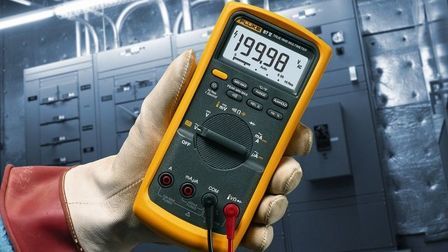
There is an advertisement running on the television that has been going on and on and has also slightly upped the volume. You reach for the universal remote control to change the channel but it does not work.
Are the batteries dead? No, because you replaced them just last week.
So, what do you do? You take out your multimeter and check the voltage of the batteries. One of them is dead because of unknown reasons.
So, you replace it with a new one by the time the show comes back. You continue to enjoy your television drama.
This is an imaginary story we visualized to help you understand why it is necessary to know how to check voltage with a multimeter. And if you are a beginner, we will show you how.
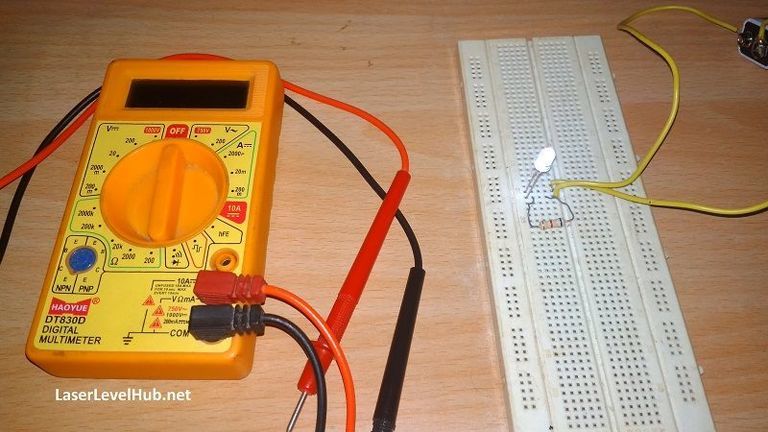
In this guide, we have used a digital multimeter as voltage tester and a simple circuit. This circuit is made of a 9-volt battery (for DC voltage), a white LED bulb, and a resistor. You can recreate this circuit in a breadboard at your home to carry out this testing.
Read more multimeter how-to guides:
- How to Measure Current with a Multimeter
- How to Test a Fuse with a Multimeter
- How to Check Continuity with a Multimeter
How to Check Voltage with a Multimeter?
Follow the steps outlined below to measure DC voltage with a multimeter:
Step 1
Place the digital multimeter and the circuit on a table
Step 2
Switch ON the multimeter and select the DC voltage function (on the top left corner of the dial). Select the lowest range (200m volts)
Step 3
Use the probes and point them at the circuit as described below:
- Use the red test probe and point it against the anode of the LED bulb (anode is the shorter lead)
- The black test probe should be pointed anywhere near the resistor (as shown). Please note that you must point it to the other side of the circuit
- Since voltage has polarity, you should take note of which probe is pointed where
Step 4
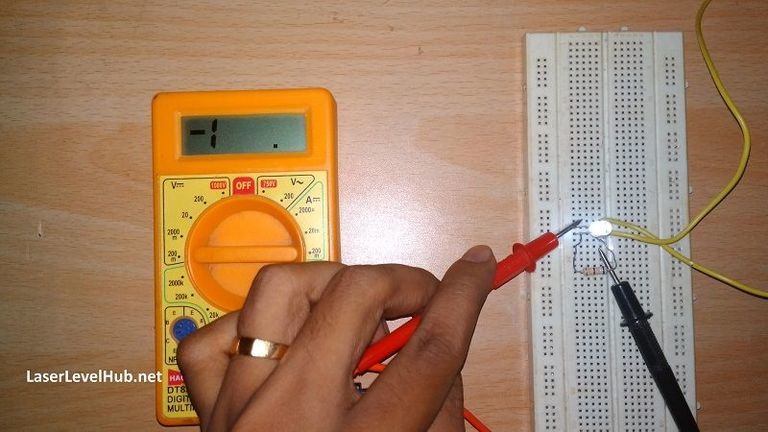
If the voltage value is within the range selected, the multimeter should read the correct value. Since we selected the lowest range i.e. 200m volts, the display shows wrong value
Step 5
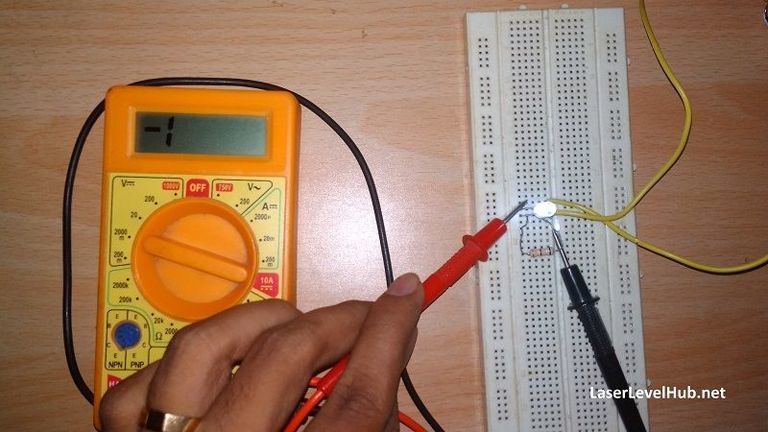
For 2000m volts, the display again shows a wrong value
Step 6
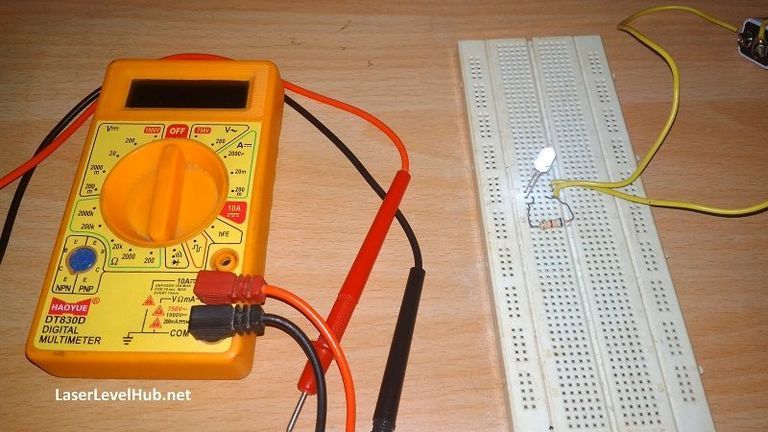
In our case, we know that the voltage from the 9-volt battery is above that range. So, we need to increase the range from 200m volts to 20 volts (always the higher range than the assumed value of the quantity being measured)
Step 7
The value is 3.13 volts. Compare it with the actual voltage of the battery which is around 9 volts. This means that the load is taking up close to 33% of the power from the battery
This is the basic process of how to use a digital multimeter to test voltage. The key is to select the closest range while measuring to get the correct reading.
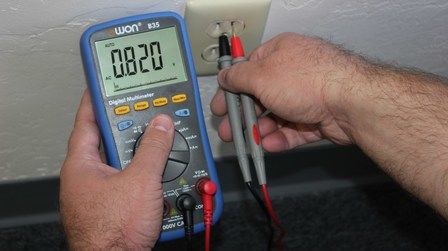
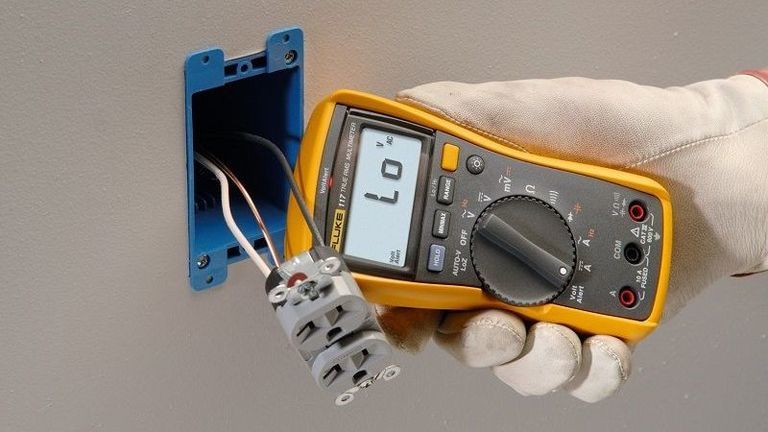
If you want to test AC voltage, you can do so using the AC socket in your house. Make sure you select the AC volts function (top right) and then use the probes to measure the voltage.
If you are in the US, you should anticipate a range around 120V. If you are in Asia, it should be around 240V. Given below is a representational image of how you can do it.
Make sure you wear insulated hand gloves while testing high voltages to avoid shocks.
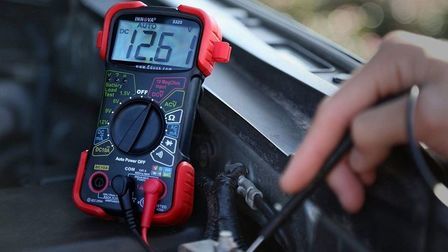
Read more: Best Automotive Multimeter For Car Testing
Conclusion
This is a simple, abridged guide on how you can check voltage with a multimeter. For more such guides, you can check out our other articles. If you have any queries, please let us know in the comments.

