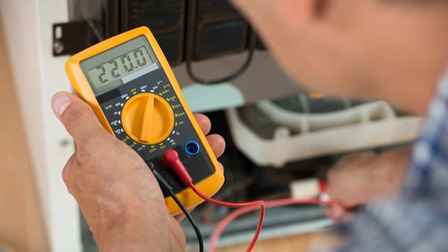
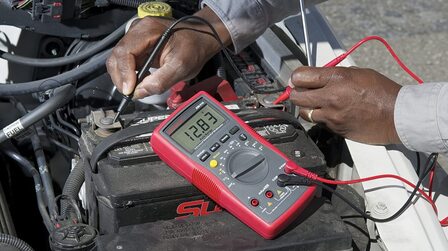
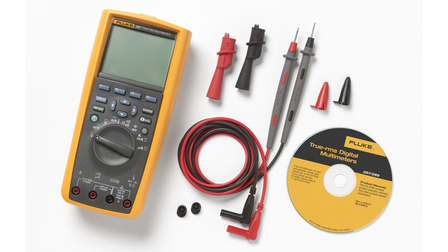
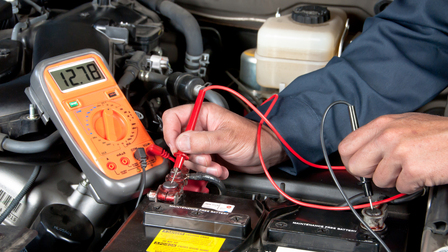
While wireless charging and wireless electricity are still on their way, many of us still depend on the good old power wires and cables to power and recharge our electronic devices. And sometimes, it may happen that one of these wires stops working.
Instead of instantly replacing them, it is better to first test wires with a multimeter. As someone who understands electricity, it is expected of you to check those faulty wires out for continuity.
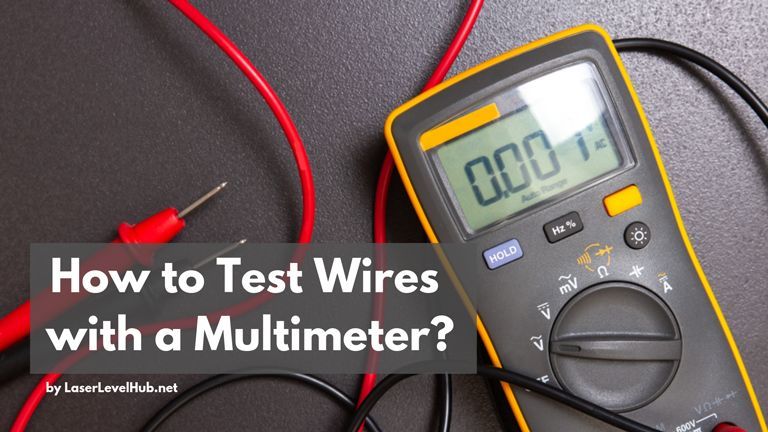
Testing electrical wires with a multimeter is easy. The basic idea is to check the continuity between the two ends of a wire using a multimeter that supports continuity testing. Most models (Fluke, for instance) have this feature where the meter beeps on successful continuity.
Given below is a step-by-step process on how to use a multimeter to test wires. Also check out the tips and tricks at the end.
More multimeter how-to guides:
How to Use a Multimeter to Test a Wire
As mentioned above, when testing wires, the basic idea is to establish continuity through it. This is to confirm if the current can pass from end to end of a wire without any obstruction or break.
In technical language, a break would mean full resistance, which will obstruct the flow of current through the conductor (wire being tested).
The process has been simplified below. Ideally, if a wire is functioning properly, it should satisfy the continuity test and trigger a tone on your multimeter (if supported). We have used a digital multimeter for this purpose.
Steps to Use a Digital Multimeter to Test Wires
Following are the steps to test wires using a multimeter:
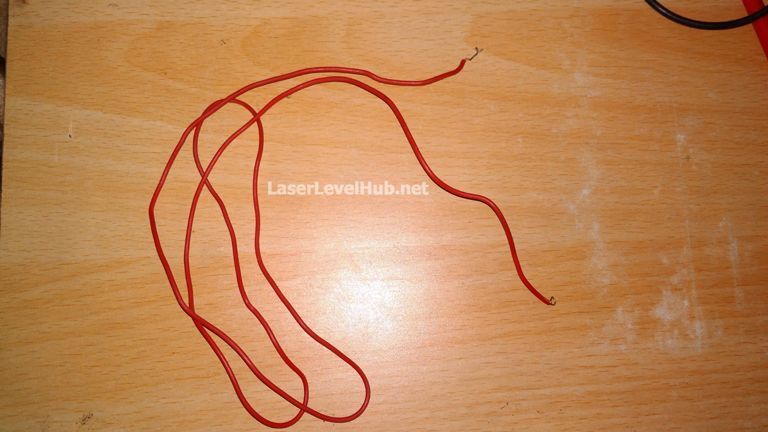
- Disconnect the wire or cable that is to be tested
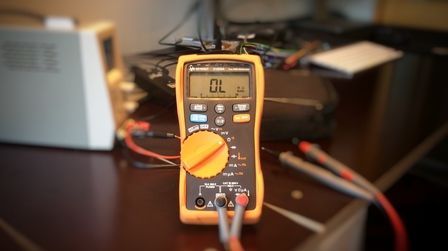
- Switch ON the digital multimeter and use the dial/option to set the function to continuity check. This is usually on the bottom right side of the dial, labelled using a volume symbol and/or that of a diode
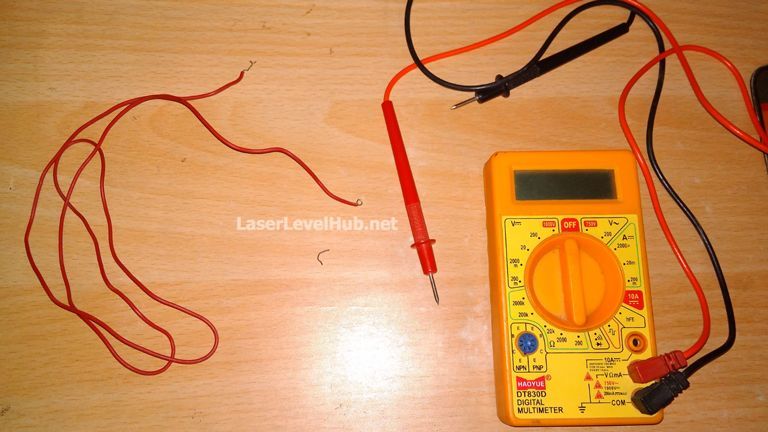
- If not already done, connect the testing probes to common ground and volt as shown in the image above. (Click on the image to enlarge it)
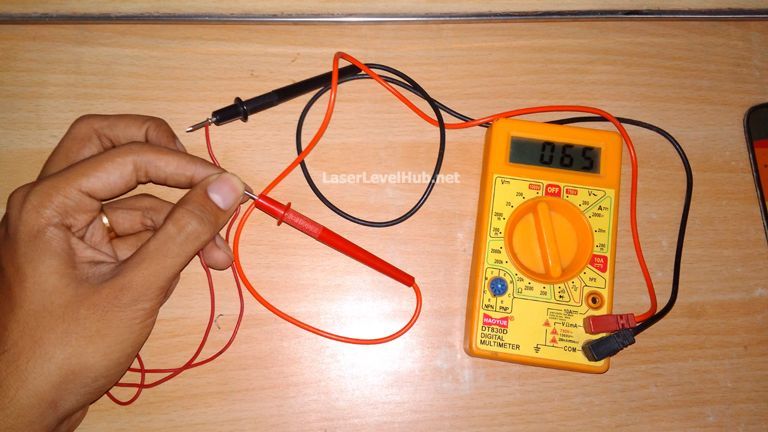
- Put one test probe on one end of the wire and the other on the opposite end. It does not matter which probe (positive/negative) is placed where
- If the meter gives out a tone and/or if you see zero or near-zero value on the display, the wire you are testing is good enough. Notice that the display reads 65 ohms. That is because of the resistance due to the contact with human body (fingers are touching the probe and wire)
- If not, then the wire is faulty and not suitable to be used in an electrical circuit. It must be replaced or repaired depending upon the requirement
- While testing a wire that is part of a system, you can also check the continuity of the wire with the system. In such a scenario, one test probe can be connected to one end of the wire and other can be placed on the system’s covering (usually metallic). If there is a continuity, you should quickly check all the wires and repair them. If left unattended, this can be dangerous and life-threatening
Since the above example was carried out in a home setting, the tester is not using enough safety precautions like an industrial-grade hand glove. Read the safety tips below for more information.
Using a Voltmeter or Analog Multimeter
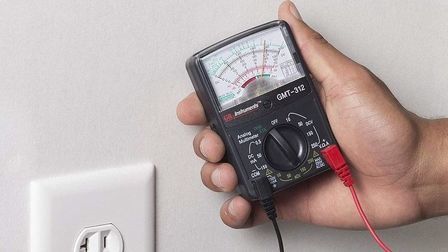
If you are using an analog multimeter or a voltmeter with analogous output, you can set the meter to check resistance and then follow the above process. A near zero value of resistance would mean that the wire will function properly.
A good reason why electricians prefer digital multimeters is that they signal a tone on successful continuity. This does not require them to look at the display, and therefore, can work faster.
Testing Wires for Power
In case you need to check if a wire is transmitting current, you can do so by setting the current/voltage function on the multimeter. You can also check out our detailed guide on how to measure voltage or current.
Testing wires when they are connected to a circuit is not recommended, especially in a high-energy environment. It can also lead to multimeter damage.
Other Scenarios
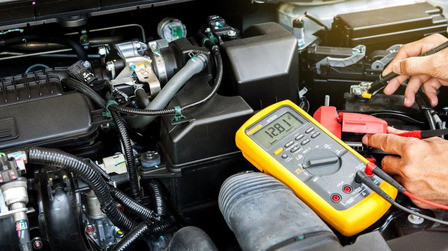
- If you are testing car wiring, always switch OFF the ignition before. Since car wiring can often have stray current (due to the battery), always use hand gloves while testing
- It is recommended that you use heavy-duty multimeters for car wiring testing. Check our guide on best multimeter for automotive use
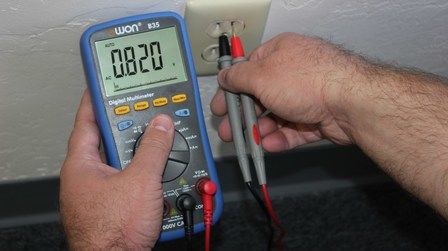
- Testing home wiring is also similar. Switch OFF the mains before starting, and go one by one and check the continuity from the starting point to the end. You may require longer cables
Useful Tips and Tricks
- Never check wires while they are connected to the circuit unless you want to measure the power or have taken sufficient precautions
- Always use insulating hand gloves while testing
- In case of a faulty wire, instead of connecting it manually using an electrical tape, always use a wire connector or nut
- A ceramic wire nut should be used if the wire is a part of a system that generates heat
Conclusion
We hope that this guide has helped you understand how to test wires with multimeter. Remember to put safety first. If you have any doubts, let us know in the comments.

