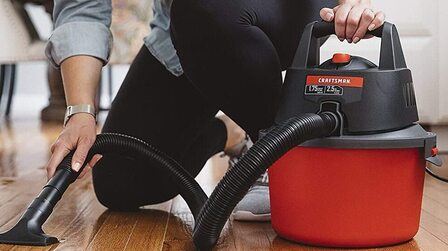
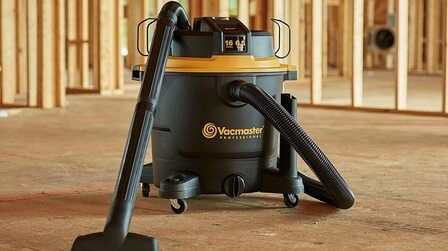
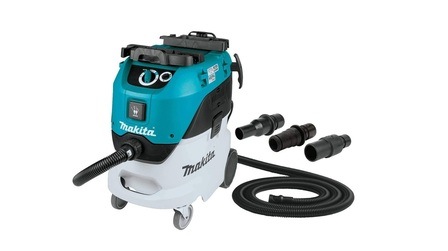
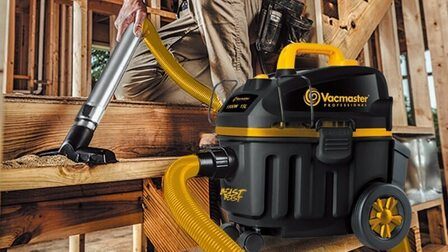
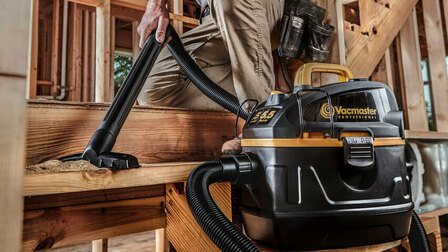
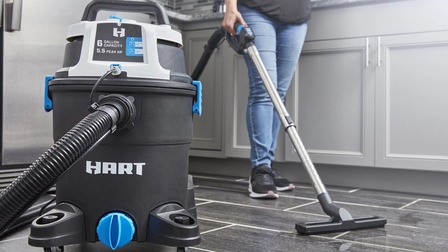
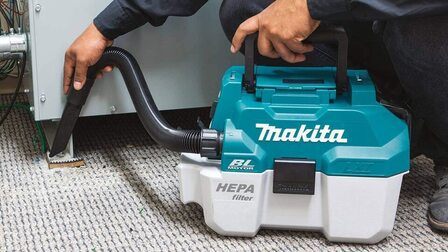
Many people believe that the trick to making a spotless home is using a shop vac. Whether it’s cleaning up after dinner or cleaning after some party, you will find that some small-sized vacuums for domestic purposes may not handle the load properly. This is where the top-notch functionality of a shop vacuum comes to the rescue by making things much more effortless.
If you buy this equipment, you may want to know how to install shop vac filter bags, even with a manual guide.
However, there’s nothing to get anxious about shop vacs. With this comprehensive guide, you’ll gain valuable insight into the installation process of shop vac filter bags in a step-by-step procedure. Moreover, you’ll learn some tips, tricks, and cautions for this overall installation method.
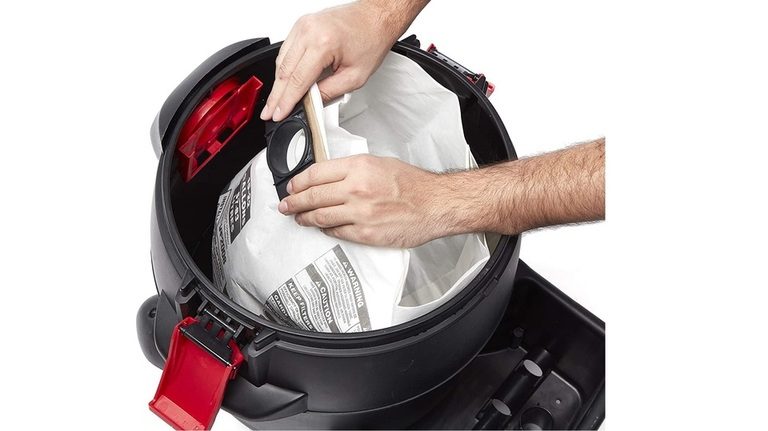
Hopefully, with this easy-to-understand installation guide, you will get the little urge to buy a shop vac for your home. So, let’s dive in.
How to Install Shop Vac Filter Bag
Before jumping into the step-by-step installation guide, you should have a clear understanding of the difference between regular vacuum cleaners and shop vacs.
Regular Vacuum Cleaners vs. Shop Vacs: Key Difference
The primary difference between regular domestic vacuum cleaners and shop vacs is that shop vacs are designed for cleaning wet messes and large debris.
Moreover, shop vacs are larger in size than regular vacuums.
The shop vac has a robust built-in quality that can pick up even wood and glass, which any regular vacuum won’t.
Although it seems so great and sounds so cool, things get complicated when it comes to the shop vac filter bag installation. Using anything for the first time can be confusing.
There’s nothing to worry about as the below-mentioned steps will clear all confusion.
Steps to Install Shop Vac Filter Bag
Several reasons contribute to the need for shop vac filter change, but the primary one is for the convenience of emptying. The filter bag will help you accumulate all complex and large waste in a single bin, which then can be easily disposed of.
Moreover, this filter bag works more efficiently than any other pleated filter for regular vacuums. For a shop vac, it’s typically recommended to use a large-sized paper bag filter to handle your large household debris.
The installation of a filter bag varies depending on the specific model of your shop vac cleaner. However, to know how to install a shop vac filter bag for the most commonly-found shop vac models, check the following steps.
Step 1: Open the Unit
The first step to installing a shop vac filter bag is taking off or opening the plastic cover or lid of the unit. Some vacuum cleaners are designed with zippers instead of lids. Regardless of what it is, open the cleaner where the bag goes by removing the cover.
Step 2: Determine the Slot Type
Once you open the unit, you will find numerous slots where the filter bag needs to go. Here, you must check the slots properly as there can be various slot types, depending on the shop vac model. Moreover, when it comes to the size of the shop vac, you’ll need a filter bag that easily snugs into it.
Step 3: Installation in Old Models
Most old shop vac models have an intake spout part, which tends to be hard-mounted. This part may not move in any direction at all and can be next to impossible to get pulled out of the machine. In such a case, take the filter bag and evenly spread it a bit so that you can make a circle using it. This way, you can make the bag fit perfectly into the cleaner unit.
If the filter bag is more oversized, folding will be a good option. You’ve to fold the bag at the bottom to ensure it doesn’t appear above the rim. You will find a tiny opening in the filter bags that goes directly into the intake spout. This opening is connected to a cardboard flange, which smoothly slides into the intake spout’s grooves.
To ensure the cardboard fits into the grooves perfectly, push it into the intake spout. That’s it.
Step 4: Installation in Newer Models
When it comes to the newer shop vac models, their advanced design enables them to work a little better than the older models. These models have intake spouts, which are designed to move. Thus, removing the intake spout while installing the filter bag is possible with newer models, making things easier.
Moreover, new shop vac HEPA filter bags are ideal for working with more recent models. They are perfect to work under options like wet and dry vac. Here, the intake needs to be turned either way for dry and wet vac, respectively.
Step 5: Installation in Other Models
Other than the old and new models, some shop vac models are designed to use screws and clips to fit into the nozzle opening snugly. In that case, you’ll have to use clips to hook the filter bag into the intake spout.
For holding the filter bag down, you may find some models using pins while leaving the rest on gravity. Lastly, just close the unit cover, and it’s all done.
Steps to Install Filter to Rigid 16-Gallon Shop-Vac
When it comes to heavy-duty cleaning tasks, the Rigid 16-gallon wet dry vacuum cleaner emerges to be the best. The installation procedure of this vacuum model is quite similar to the one for regular shop vac models. For starters, you have to gather some tools to unlock its hatch for splitting up the shop vac’s upper half.

Step 1: Notice
The filter and the bags will not be attached to the other parts. If you take a close look, you’ll find a cylindrical frame on the lid. It’s nothing but the motor case on which the filter is mounted. On the top of the motor case, you’ll observe a small notch consisting of curves and grooves on it.
Step 2: Sliding the Filter
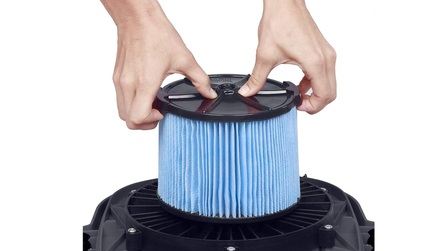
Sliding the filter down the motor case should be your first step towards the installation of this filter. If you take a perfect look at the filter’s upper side, you’ll find a hole. This hole falls into the grooves while producing a popping sound. This sound indicates that the filter is perfectly fitted into the lid.
Step 3: Sliding the Cardboard
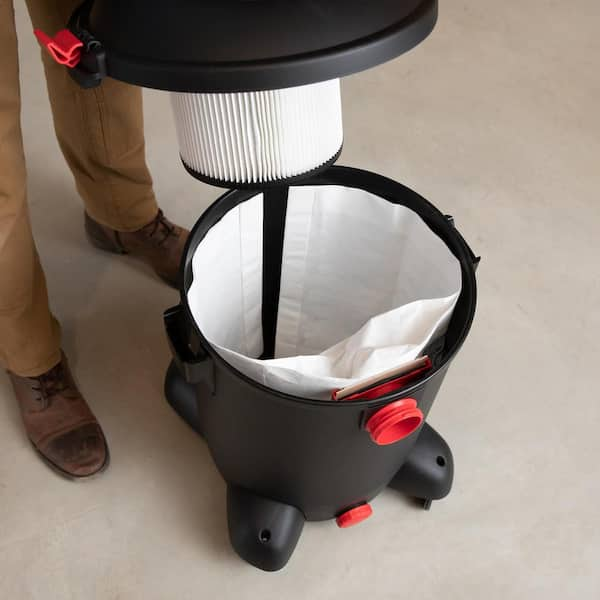
Here, the installation process for the filter bag is precisely the same as any regular shop vac model. The filter bag should be installed into the vacuum’s lower part, which is also the unit’s main part. The bag comprises a cardboard opening, which can be connected to the intake nozzle spout. Then, sliding the bag’s cardboard into the intake should be your final step. Remember to clip the cardboard at the bottom.
Step 4: Finish the Work Safely
If the cardboard of the bag doesn’t come with any pins or clips, it’s best to leave things as it is. All you need to do is trust in gravity and let it do its work. No time soon, your installation process will be complete.
Steps to Install Shop-Vac Foam Sleeve
The foam sleeve installation is primarily utilized for picking up dry and dust materials. Here, a dry filter is used rather than using a standard filter. As mentioned before, you must detach the cleaner’s top half portion. It enables you to access the moto case present in the lid. Now, let’s see how to install a dry filter into this shop vac unit.
Removing the Filter
Typically, the motor case is mounted with a standard filter. So, your first task should be removing the filter from the motor case and keeping it somewhere else. Replace the standard filter with the foam sleeve and slide it into the case. The foam sleeve is too sensitive and prone to tear, so you must pay attention during this process.
Putting the Dry Filter
Now, you’ve to keep the dry filter on the foam’s topmost part while using a mounting ring to secure it. Another alternative to mounting rings is a simple rubber band, which is more cost-effective too. Lastly, keep the lids back on the cleaner, and you’re done.
Steps to Put a Dust Bag in a Shop Vac
You can use dust bags to prevent the filter from getting clogged suddenly. These bags help collect minute particles of dust and ensure the optimal cleanliness of the filter.
The steps to install dust bags are the same as installing a filter bag on a shop vac. Simply hook the cardboard upon the intake. It’s a great alternative to filter bags.
Tips for Installing Shop Vac Filter Bag
You must ensure that the filter bag stays where it is.
So, while placing the filter bag in the bin, you must fold it from the bottom.
If you’re using a wet/dry or old vacuum cleaner model with a detachable spout, you will observe something around the spout. It is a U-shaped holder.
To install the filter bag into such a model, you have to take out the spout and attach cardboard to the holder.
The holder will play a key role in keeping the cardboard stable while attaching the hose. It connects the filter bag with the shop vac.
You must spread open the intake to prevent the cardboard from getting hit by the hose.
How to Install Shop Vac Filter Bags - FAQs
Can I Use the Shop Vac without a Filter Bag?
Yes, you can use a shop bag without a filter bag, but it’s usually not recommended. Most shop vacs come with two stages of collecting debris. It means that the wet/dry vacuum model tends to use both bag filter and canister filter. Whether a filter bag is installed in the shop vac or not, it’s crucial to use the filter. The filter is essential as it protects the vacuum during bag failure.
How to Prevent the Filter Bag from Tearing?
You can prevent the filter bag from tearing by changing or replacing the filter bags on time. You should do it before the filter bag gets filled. It will help you avoid the situation of overload and tear.
Conclusion
So, if you want a concise answer on how to install a shop vac filter bag, this comprehensive guide is a good read for you. With the step-by-step installation guide, you can easily and conveniently do the work. So, take advantage of all the instructions and guidance to install filter bags quickly and efficiently.

