Purchasing your own rotary laser level is always a good idea. But, purchasing is not enough, if you don't know how to properly utilize it.
Though the newly bought laser level derives with default calibration, it will be really wise to know how to calibrate a rotary laser level in case of any discrepancy in the default calibration.
Sometimes, it's advisable to check and recalibrate the rotary laser level often for the accurate result while using the tool.
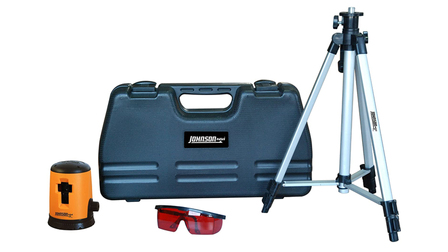
 Johnson 99-006K Self-Leveling Rotary Laser SystemJohnson 99-006K Self-Leveling Rotary Laser System
How to Calibrate a Rotary Laser Level
Step 1
Set up the level on a plane surface or a tripod in a large room. The laser level should be kept at least 20-50 feet away from the wall depending on the model.
Step 2
Now, position the level at least 1' away from the one wall and 20' away from the opposite one.
Step 3
Some models are manufactured with X and Y coordinates. In such cases, aim the X coordinate at the wall and turn on the laser beam.
With a pencil, mark a line where the beam strikes the wall. For models without X/ Y coordinates, draw a vertical line on the wall and mark the point where the laser beam strikes.
Step 4
Now rotate the laser level 180 ° and mark the point where the laser beam strikes.
Different models have different tolerance levels specified.
Now, compare the two marks to figure out whether the difference is within the mentioned range or not. Generally, the ranges differ from 1/10 inch to 1/16 inch.
Step 5
The next step is rotating the laser level 90° to aim the Y axis point at the wall. Similarly, mark the line while the beam strikes the wall.
Step 6
Repeat the process for 180° also and mark another line.
Now, check the difference to determine whether the vertical distance is within the reach or not.
If any of the axis fails to show the intended result, your laser level may need to recalibrate.
See also: Best Laser Level Detector
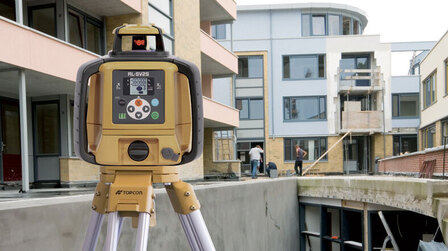
 Topcon RL-VH4DR Multi Purpose Red Beam Rotating Laser LevelTopcon RL-VH4DR Multi Purpose Red Beam Rotating Laser Level
Recalibrating The Laser Lever
In case of unsuccessful calibration, you may need to recalibrate the rotary laser level following some simple steps. The procedure is slightly different for manual and self- calibrated unit.
Manual calibration:
For manual adjustments, firstly, turn off the unit and with a flat-bladed screwdriver, move the adjusting screw which is kept under a cover.
Turn the screw anti-clockwise, if the first marked line was higher than the second. Turn it clockwise, if the marked line was lower.
Self-calibrated unit:
By turning into the self-calibrated mode, you can easily recalibrate the level.
- First turn off the level and then press both the power and manual button simultaneously.
- Now, release the power button, but keep the manual button pressed for 10 seconds.
- After releasing the manual button, the unit will automatically enter into the self-calibration mode.
Identify the calibration area on the remote control and press the 'X/Y' button to select the X axis calibration.
Turn the level to the wall and with the help of the " Up/Down' arrow button, move the beam exactly in the middle of the two marked lines.
Press 'enter' button to finalize the process and repeat the same for the 'Y' axis.
Conclusion
Though nowadays the rotary laser levels are hardly needed to be manually calibrated, but acquaintance with the process will be a great help in case of emergency.
 Bruce Rivers